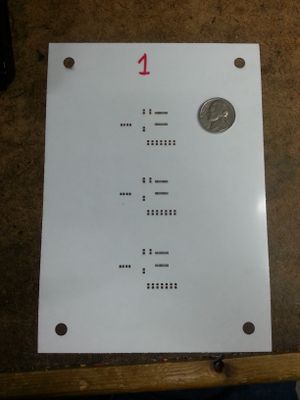
HOWTO PCB Stencil
Preamble
A solderpaste stencil allows you to quickly and easily apply solderpaste to one or more PCBs for surface-mount components. it is faster and more accurate than using a syringe, and works well for small to medium runs of boards. We like making them on the laser cutter, because cutting out all those tiny holes by hand would be...less than fun.
Process
- Export the Cream layer from EAGLE as a DXF file. Make sure the file's base units are in millimeters, not inches.
- Import the DXF into LaserCut.
- Select all, and go to the Unite Lines option in Tools. Click OK on the resulting dialog.
- Select all, and make the first layer an Engrave layer with speed 400, power 25, and scan gap of 0.05. Bidirectional mode here will save you clock time, not laser time.
- Select the outline of your stencil, and put it on a different layer. This layer should be the last layer cut, and be a Cut layer with speed 400 and power 70/70.
- Select any fiducial/alignment holes and put them on a different layer, the penultimate layer. Make this a Cut layer with speed 400 and power 70/70.
- Select any pads smaller than SOIC and put them on a different layer, the second layer. Make this an Engrave layer, with speed 400, power 25, and scan gap of 0.01. Bidirectional cuts here will save you time.
- Save the project and upload it to the laser.
- Grab a sheet of your stencil material (I have been using 4mil polyester/vellum with great success), put a copy-paper backing under it, and lay it on the honeycomb with some lead pieces to hold it down.
- Run the job once you have the extents over the material.
