Torqcut Start-up procedure
| This page is a candidate for deletion. The given reason is: This *might* be useful to someone else with this machine, but probably not to us. Do we delete it?
If you think this article should be saved please remove this message and make the necessary improvements to keep this article on the wiki. Remember to check if anything links here before deleting. Also if there are images used on this page that won't be useful elsewhere maybe delete that as well. Thank you! Last edit by: Mtfurlan (talk · contrib) · Last edited on Sun, 03 May 2020 14:19:58 +0000 |
| This page contains historical information. It is provided for reference but does not reflect current information or policy. |
The CNC mill requires compressed air so the shop air compressor has to be running.
If no one else needs compressed air, don't forget to turn off the compressor after you're done. There's a leak somewhere in the system.
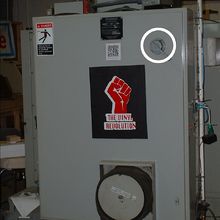
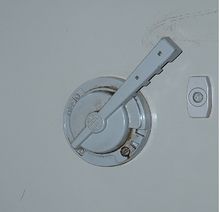
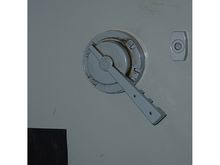
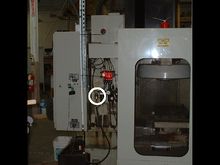
- Power up the CNC mill with the power switch on the back panel. Clockwise is "on", counterclockwise is "off".
Main power switch in the "on" position.
Main power switch in the "off" position.
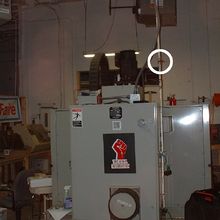
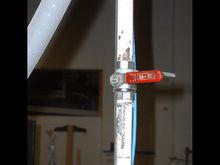
- Valve to shop compressed air at CNC mill.
Compressed air valve closed.
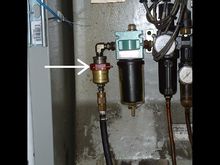
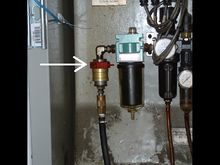
- Lift red air valve on CNC
You'll find the machine's air valve on the left side of the mill. Just raise it.
Machine air valve in the closed - down - position
Machine air valve in the open - up - position
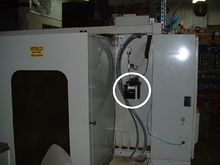
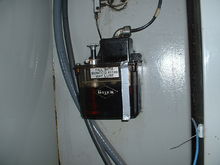
Next thing you want to do before you start using the mill is check that its fluid levels are where they're supposed to be. The first thing to check is the lubricant level.
There's a level marked on the duct tape.
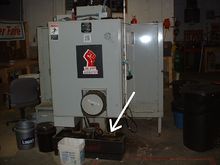
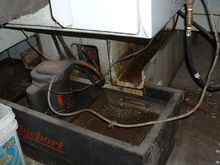
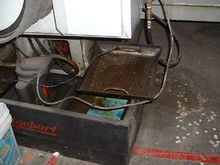
If the lubricant level's where it's supposed to be then check the coolant level.
There are filter screens on both sides of the coolant tank that can be removed to check coolant level.
The screens have handles but they tend to be pretty grimy so be warned.
To recap, power on, air on - shop compressor on if it's off - raise air valve, check lubricant level, check coolant level.
