Touching Off
NOTE: IT TAKES ABOUT 5-10 MINUTES TO TOUCH OFF EACH TOOL. PLAN ACCORDINGLY
Touching Off a Tool - How do I set the Z-offset for my tool lengths?
The reason for touching off a tool is simple. Once you have defined the X and Y position of the your Workspace Coordinate System, you need to set the tool length Z offset. i.e. you want to "register" the tools in Z.
The way the HAAS (and all CNCs) handle this is by storing a z-offset from the machine coordinates for each tool. You need to set that offset for each instance of the tool, to place the bottom of each tool instance to the top of your cutting surface. This is is called "touching off" the tool and is done for each tool that is used.
Shim Stock Method
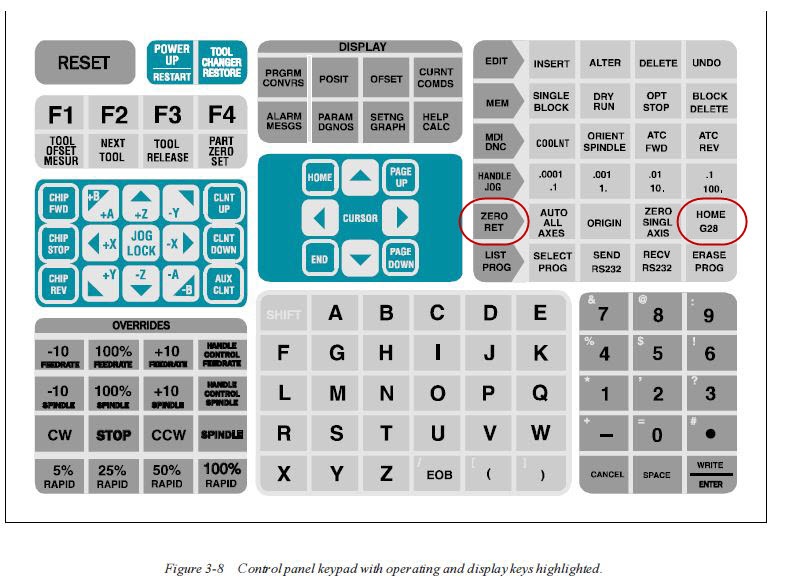
1) Load a tool (by previous means) and hit HANDLE JOG. Select appropriate jog units to carefully approach the work surface with the tool.
NOTE: Mislabeled jog rate button: .01/100 is actually .1/100
2) Position tool over the top of stock in a spot easy to replicate with other tools. Remember to jog slowly to avoid breaking a tool.
3) Lower Z until about 0.5" over shim stock.
4) Lower with .001 setting while moving shim back and forth until there is friction on shim but no binding
5) Lower with .0001 while moving shim until it binds (buckles with forward movement) then slowly raise until not binding then slowly lower until first bind.
6) Press the button for the OFFSET screen.
7) Page until you get to Tool Offset screen.
8) Move cursor over Tool #x setting, Length Geometry Column.
9) Hit TOOL OFFSET MEASURE. This will load current machine Z position into offset for Tool #x.
10) 4Subtract for shim thickness. e.g. "type -.0015" and hitting WRITE. That will record the machine position as if the tool was touching the top of the stock.
11) Move spinde UP by setting the jog rate fastest speed. Then press and hold the Z+ on the cursor pad. This will move the tool up in Z with no risk of moving the wrong direction and damaging the tool or your work piece.
12) Repeat for all tools.
13) Press MDI screen button. ERASE PROG
14) Type in the following program
G90 G54 G43;
T[x] H0[x];
M00;
where [x] is replaced by tool #.
15) Press the "Home" key to jump the cursor to the top right corner on the MDI screen.
16) Press the large green "Cycle Start" button. There might be a slight delay as the coolant nozzle moves to the correct position.
17) Press the "POSIT" button. Look in the upper right corner for G54 locations. i.e your Logical coordinate position.
